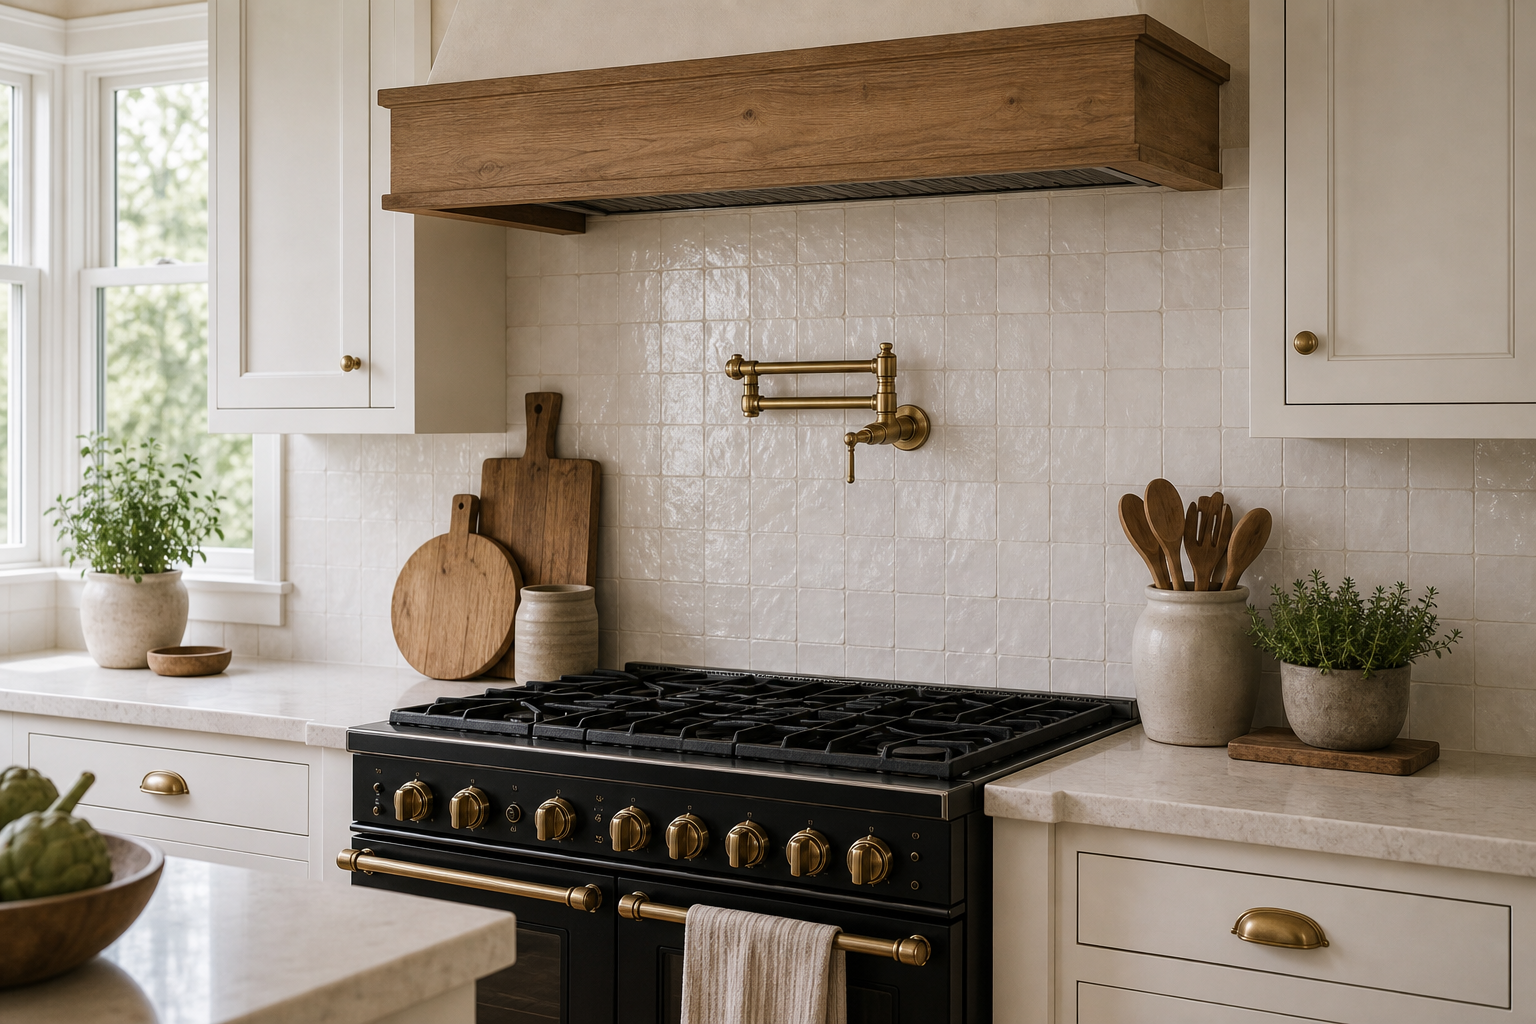

The pot filler succeeds because it is treated as part of the range axis, not as an isolated luxury fitting. Its folded warm-metal arm sits directly above the dark cooktop and below a broad pale hood with timber-toned trim. Glossy irregular tile reflects side daylight around the small fixture, while cream cabinetry and matching hardware provide a quiet frame. Function is expressed through placement before finish becomes a talking point.
The Pot Filler Sits on the Cooking Axis
The warm-metal pot filler is centered above the range, which makes the feature feel logical before it feels decorative. Its placement tells the viewer exactly why it belongs there. That alignment also gives the range wall a clean vertical axis from hood to faucet to cooking surface.
Range, filler, and hood are centered one above another. That vertical order makes the faucet's purpose immediately legible and prevents it from becoming a decorative mark floating on a broad backsplash.
The glossy white tile creates a textured but quiet backdrop for the warm-metal fixture. Each tile catches light differently, giving the wall depth without distracting from the pot filler. A flatter backsplash would still work, but this tile surface gives the small warm-metal detail more presence.
Glossy Tile Gives a Small Detail Enough Contrast
The black range gives the pot filler a strong base. The warm-metal controls and handle below also repeat the metal tone, making the faucet feel connected to the appliance. This prevents the pot filler from looking like a single isolated gold element on a white wall.
Light catches the uneven tile faces, creating subtle variation behind the articulated arm. The earlier rustic cooking-wall analysis offers a useful contrast, organizing a much rougher surface around the same centered range-and-hood axis.
The Dark Range Anchors the Lower Wall
The warm wood trim at the hood adds a farmhouse note above the range. It balances the polished warm-metal and glossy tile with a more tactile material. The hood also visually caps the pot filler zone, keeping the backsplash from feeling too tall or empty.
Timber-Toned Hood Trim Caps the Work Bay
The cream shaker cabinetry frames the range wall without pulling focus away from the pot filler. Its simple paneling supports the modern farmhouse character. Warm-Metal knobs and pulls repeat the faucet finish in smaller doses, which makes the metal palette feel consistent.
Wood cutting boards, a ceramic utensil crock and potted herbs sit near the range, so the styling feels related to cooking rather than decorative filler. These objects also soften the hard surfaces around the range while keeping the pot filler visible.
Counter Objects Stay Outside the Central Zone
Place the pot filler on the range wall where it visually aligns with the cooking surface. The detail works best when the purpose is obvious. Use a backsplash with enough texture to frame the fixture, then repeat the warm-metal in cabinet hardware or range details so the finish feels intentional.
Boards and a utensil vessel stand near the outer counter edges, leaving the wall faucet unobstructed. The arrangement acknowledges cooking without stacking objects beneath the spout or inventing a pot that is not present in the scene.
Designing the Elevation Before Plumbing the Fixture
I would avoid installing another busy metal feature across this backsplash. The pot filler already gives the wall its functional highlight. I would also avoid a bold patterned tile behind it because the small warm-metal profile needs a calm surface to remain legible.
Successful installation depends on the visible relationship among appliance width, hood width, and faucet reach. Exact heights cannot be read from one image, so the transferable lesson is alignment: draw the complete elevation before fixing any individual component.
The fixture folds against the wall when it is not extended, allowing the tile field to remain readable. Its small joints and articulated elbows are visually finer than the range handles below, creating a sensible scale transition between plumbing detail and appliance mass.
Cabinet runs at both sides terminate cleanly at the cooking bay. A small plant and boards occupy those outer corners, but the counter directly below the filler remains free. This separation protects the visual axis and avoids implying an unsafe or cluttered working arrangement.